Sketch the plants and the water route
Draw the containers or bed with the tap, main tubing and intended emitters. Group plants with similar water needs rather than placing every pot on one identical schedule. Mark changes in height and the farthest outlet, since these can affect delivery depending on the system. Choose components designed to work together and within the manufacturer's limits. Keep paths clear of loose tubing. A simple layout that can be inspected is easier to maintain than a complicated network hidden beneath pots and furniture.
Fit the supply components correctly
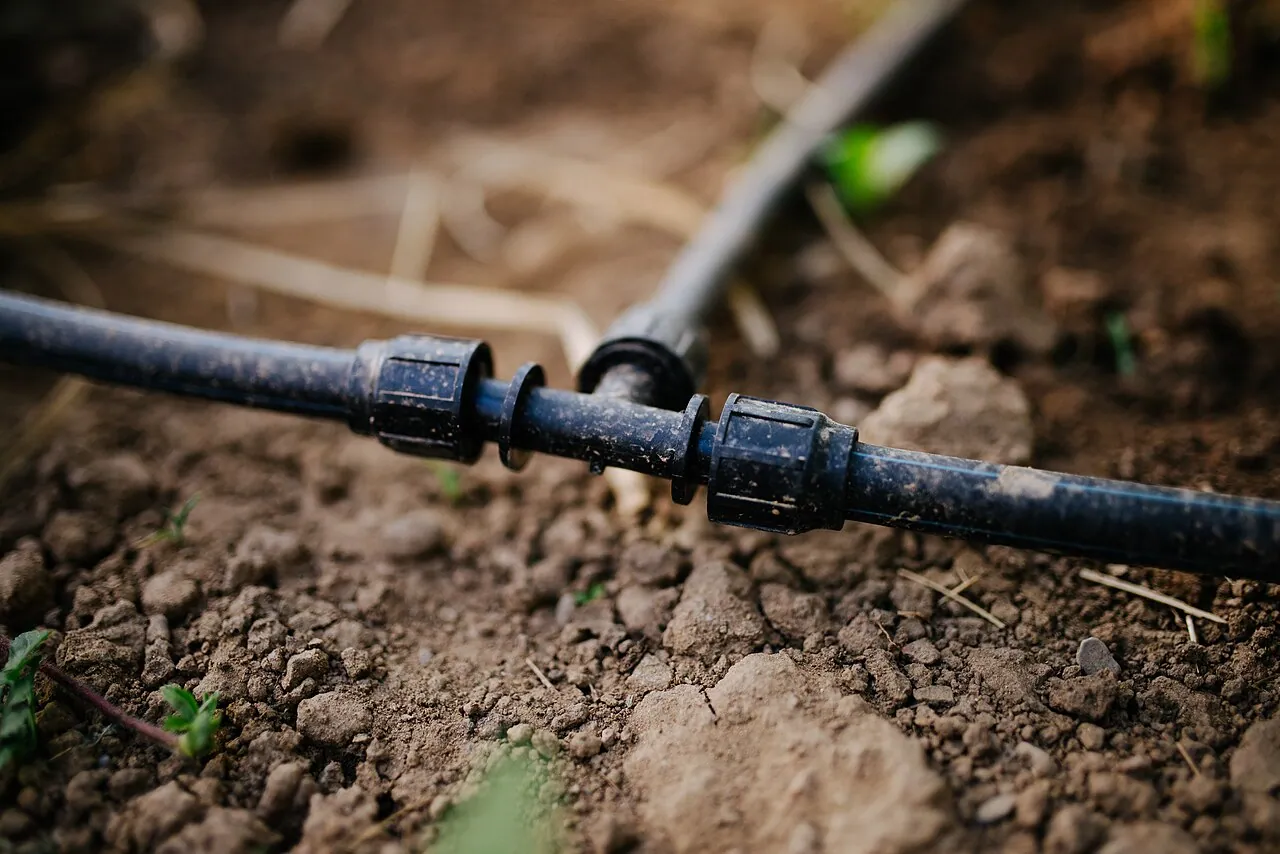
Follow the system instructions for backflow protection, filtration and pressure regulation, using equipment appropriate to the water source and local requirements. Drip components are designed for particular operating conditions; attaching them directly to any available tap does not guarantee suitable flow. Keep filters and valves where they can be reached without dismantling the planting. Flush the tubing as directed before closing the ends. Record the component names and layout so a replacement part can be chosen accurately later.
Measure what the emitters deliver
Run the system while you are present and collect water from representative outlets in identical small containers for the same period. Compare the nearest, farthest and any elevated sections. Then check moisture around the actual roots after a trial run. A working dripper can still be positioned where water misses the root ball. Adjust placement, output or run time based on those observations. Do not assume that a timer setting copied from another garden will match your pots, plants and climate.
Keep inspection in the routine
Check for blocked emitters, leaks and tubing displaced by growth or maintenance. Revisit settings as plants enlarge and weather changes, reducing unnecessary watering after rain where appropriate. Keep a manual watering option for failures and a clear way to shut off the supply. Before leaving the system unattended for an extended period, test it through several normal cycles. At season's end, clean and store or protect components according to their instructions. Automation should make a sound watering method easier to repeat, while still leaving room for observation and adjustment.
A little further reading
Match these general notes to your plant variety, climate and local conditions.